
In our previous blog posts, we have covered how to Setup Amazon SES Account and Generate Amazon SES IAM Credentials to connect SES with MailGet – Email Service Provider. But, when a new user set up Amazon SES account it does not immediately grant unlimited SES usage.
New users are initially placed in the Amazon SES sandbox and are not granted production access for sending emails to everyone.
The following restrictions are in effect when new users are placed in Amazon SES sandbox environment:
- They can only send mail to the Amazon SES mailbox simulator and to verified email addresses.
- They can only send mail from verified email addresses.
- They can send a maximum of 200 messages per 24-hour period.
- Amazon SES can accept a maximum of one message from their account per second.
In this documentation, we will explain how to remove the restriction on recipient addresses and increase your sending limits.
Steps to Request Amazon SES Production Access:
Step:1 Open aws.amazon.com/ses and click on “Sign in to the console” button.
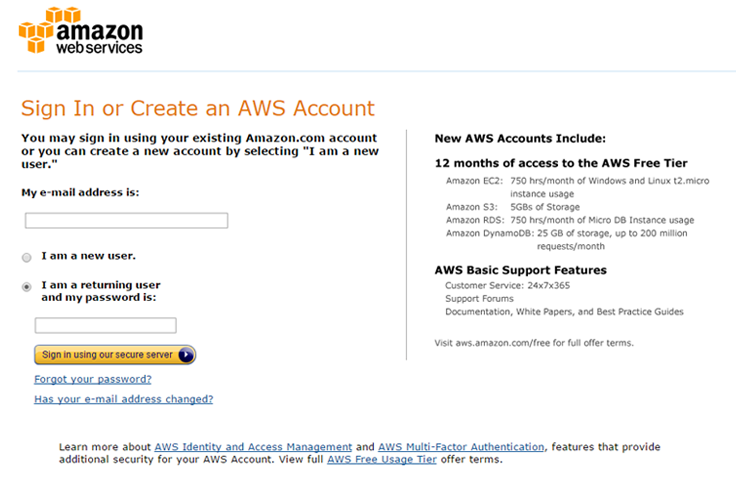
Step:2 On the page appeared, simply enter your email ID, select”I am a returning user and my password is” option and enter password.
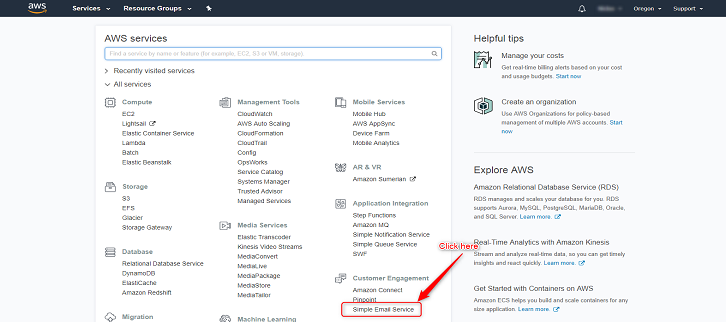
Step:3 In AWS Management Console Click on “SES email Sending Service”.
Step:4 Click on the “Request a Sending Limits Increase” button. You can also directly visit the following link. http://aws.amazon.com/ses/extendedaccessrequest

Step 5. Select the “Service Limit Increase” option under Regarding. ( As shown in the screenshot below )
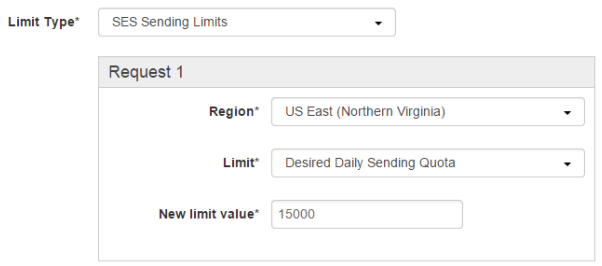
Step 6. Under Limit Type, select “SES Sending Limits” from drop-down menu. ( As shown in the screenshot below)

Step 7. Under Request 1, select your SES region, in which you verified your email earlier and have configured MailGet to use. For example, here select – “US East (Northern Virginia)”. ( As shown in the screenshot below )
Step 8. Then select “Desired Daily Sending Quota”. ( As shown in the screenshot below )
Step 9. Add number limit value, start with preferred sending value from 20,000 to 50,000 ( upon your choice ). ( As shown in the screenshot below )
Tips – Starting with around 20,000, increases the chance of instant approval. After this approval, your limits will increase automatically with requirements.
Step 10. Click on the “Add another request” button. And, start adding Request 2.
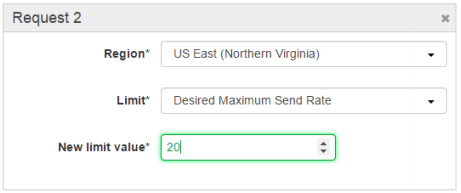
Step 11. Under Request 2, select your SES region, in most of the case for MailGet users, it is “US East (Northern Virginia)”. ( As shown in the screenshot below )
Step 12. Then select “Desired Maximum Send Rate”. ( As shown in the screenshot below )
11. Add number limit value, start with preferred sending rate from 20 mails/ sec ( upon your choice ). ( As shown in the screenshot below )
Tips – Starting with around 20 mails/ second, increases the chance of instant approval. After this approval, your sending rate limits will increase automatically with the requirement.
Step 13. Select Mail Type as “Subscription”.
Step 14. Under “Website URL”, but the link of your business website.
Step 15. Read the AWS Service Terms and AUP and Select “My email-sending complies with the AWS Service Terms and AUP”, as “Yes”. (Make sure to read the Terms and agree only if you comply with the policies.)
Step 16. Select “I only send to recipients who have specifically requested my mail”, as “Yes”. (Also make sure to send emails to your own audience. Sending illegitimate emails to third party audience or purchased email list is not allowed by MailGet or Amazon SES.)
Step 17. Select “I have a process to handle bounces and complaints”, as “Yes”. (MailGet does this for you. MailGet Team will set an SNS topic for handing bounce and spam. To send a request for the same to us at enquiry@formget.com, once the production access is granted.)
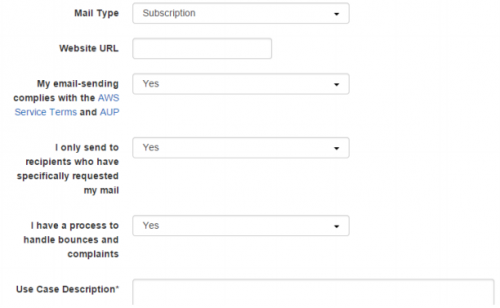
Step 18. Under “Use Case Description”; you can write your sample uses and how you are going to use Amazon SES. Your use case description may be different than the sample below.
One Sample Message can be:
Dear AWS team,
My official website is located here: [ Link of Business Website ] and overtime I have collected emails through opt-in subscriptions. My emails are clean and verified. I have been using other email service provider for long time and now we have planned to make a shift to Amazon SES.
I will be using online emailing application which is available here: https://www.formget.com/mailget-app/. This application can handle bounce, complaint and un-subscription effectively. And, these has been added to my verified email address in my Amazon SES account.
Kindly approve my request for Amazon SES production access in above mentioned region. Let me know if you have any question.Thanks and Regards!
Step 19. Select your Support Language.
Step 20. Select “Contact Method” as “Web”.
Step 21. Finally, click on the “Submit” button to send the application form.
Once, the form has been submitted successfully, you will receive an email confirmation. And, most of the time approval can take up to 24 hours. You will receive an email after approval.
After successful approval, you can start sending email campaigns from MailGet.